Exterior Exhaust Vent For Central Vacuum Cleaner
 For your home to stay a hundred percent dust-free, you can install a central vacuum system that vents to the outside of the house. A central vacuum system makes it simpler and more effective to clean your home, and when you have the right equipment and materials, installation is pretty straightforward.
It is easier to install a central vacuum system during the construction of a new house where the tubing is easy to set up in the walls. However, you can still retrofit with relative ease into an already existing home. Just how convenient it is to route the tubing depends on the house or, more importantly, on entry to a cellar, garage, crawl room, basement, or attic. You could do the installation yourself if access is sufficient and you are handy with equipment.
Note that before getting started on this, it would be best to turn the electricity off.
Designing a Layout Plan for a Central Vacuum System
You should first locate the vacuum inlets’ best positions, whether you plan to hire a technician or do it yourself. This is both for your convenience when you install the unit and because locations can affect the fitting and, consequently, the cost. Any inlet you design will boost a system’s expense and raise the chances of air leakage that reduce the system’s suction. Plan carefully, with this in mind, so that you can limit the number of inlets in your unit.
Most homes will only require one or two inlets on each floor strategically positioned, such that every corner of every room is beyond the scope of the vacuum hose, typically about 30 feet. Although inlets are run along the base of the inner walls, they may be fixed on floors away from foot traffic. It is important to note that every floor inlet should have a metal cover.
How To Install a Central Vacuum System
If the house is single-story with a crawlspace or basement, the tubing can be installed to run under the floor. It can then plug into walls for a small distance or service floor inlets directly. This is by far the easiest installation method when it comes to retrofitting in an already built home.
Usually, interior, non-bearing walls with no pillars or beams are more comfortable to reach from below. When a building has no access under floors, the tubing must be redirected. A typical solution is to vertically run the tubing, behind shelves and wardrobes, through laundry chutes, or boxed in at one corner of a room.
The other common alternative is horizontally running the tubing inside an attic and then lowering it directly down through a wall or into a cabinet or closet.
Vent Your Central Vacuum To the Outside
Since you have now completed the first phase - installing the central vacuum system - read on to find out how you can create a safer space for your lungs by getting all the dust outside.
There are a few steps to follow when channeling the vent of your central vacuum to the outside.
-
Identify a Location
When choosing a location for your central vacuum exterior exhaust vent, ensure that it is away from entryways, lounging spots, and walkways. Selecting a place that is not noticeable is preferable since the central vacuum exhaust might be hideous.
-
Mark the Location and Cut Out the Circle
 From the interior, make a hole in the spot you like the exhaust from inside out to your exterior. To make a circle around the hole, you just drilled, use a compass, or trace with something. Remember to use that hole as the circle's middle. Using a hammer drill or hole saw, cut the circle out, break the drywall and discard it.
-
Do It Again On the Outside
On the exterior, draw a circle using the same hole you had drilled as your center. After drawing the circle, cut it out and discard the drywall.
-
Fix the Tubing and the Flap
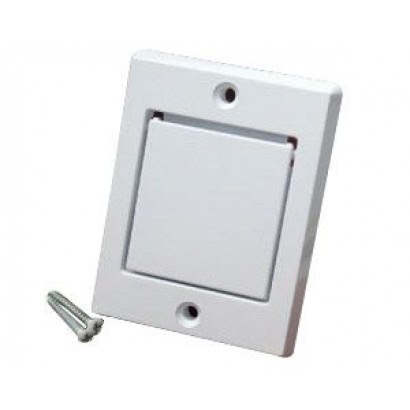
Now is the time to fix your tubing, running it from the inside to the outside. To leave it protruding on the exterior, push an additional one to two inches out. Attach trim rings on both the interior and exterior. You can now use a 45-degree coupling or an exhaust flap to cover the exhaust vent. Be sure to point it downward if you want to go for the coupling. A flap of the exhaust is simply screwed into place.
-
Seal All Joints and Connect Your Central Vacuum
Seal the joints on the internal and exterior using PVC cement to hold the tubing firmly in place. Link the exterior exhaust tubing with your central vacuum unit. Now you will experience 100 percent dust-free vacuuming and enjoy clean air free of mold, dust mites, pollen, and other allergens.
Mufflers, Exhaust Vents, and Vent Caps for Central Vacuums
If you need an exhaust vent, a vent cap, muffler, and any other part for your central vacuum, we have them at Think Vacuums. Reach out to us today for all your central vacuum parts.
References and Resources
How to install a central vacuum system


Log In
Create New Account