


How to Replace a Vacuum Cleaner Belt: A Friendly Guide
Keep Your Vacuum Running Smoothly with this Simple Belt Replacement Guide
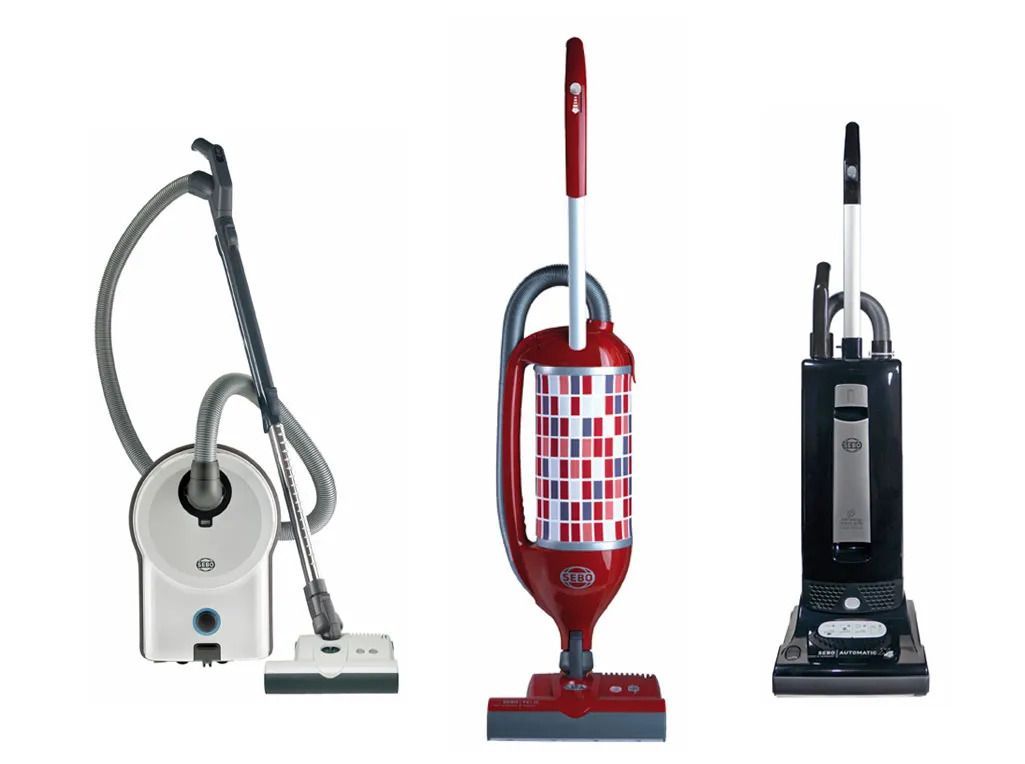
 Vacuum cleaners are essential tools for keeping our homes clean and dust-free. Over time, however, they require maintenance to ensure they're working efficiently. One of the most common maintenance tasks is replacing the vacuum cleaner belt.
If your vacuum isn't pulling itself along like it used to or it's been more than 18 months since the last belt change, it's probably time to replace the belt. Don't worry—this guide will walk you through the process step by step.
Why Replace the Vacuum Cleaner Belt?
When the belt stretches out or breaks, there's not enough tension between the agitator (the spinning brush) and the motor shaft. This can make your vacuum less effective at cleaning carpets, as the agitator won't spin fast enough to lift dirt from the carpet fibers.
Replacing the belt ensures your vacuum maintains its cleaning performance. Cogged and serpentine belts only need to be changed if damaged or broken, as they will not stretch as flat vacuum belts do. It is advisable to check cogged and serpentine belts yearly.
 Indicators That Your Vacuum Belt Requires Replacement:
- A burning rubber smell is noticeable.
- The agitator (brush bar) fails to spin.
- The vacuum struggles to pick up debris from carpets.
- It no longer moves effortlessly across the floor.
- More than 18 months have passed since the last belt replacement.
What You’ll Need:
- A replacement vacuum belt
- Screwdriver
- Utility knife
- Cloth
- All-purpose cleaner
Step-by-Step Guide to Replacing Your Vacuum Belt
 Preparation
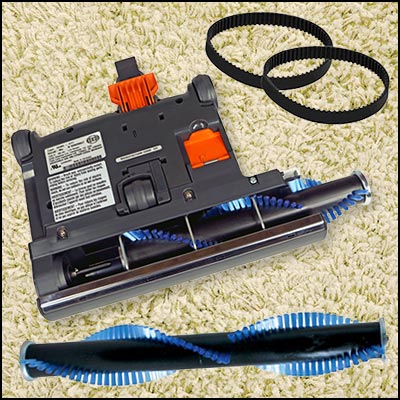
- Accessing the Belt
- Removing the Agitator
- Removing the Old Belt
- Checking the Agitator
- Cleaning
Wipe down the agitator and housing of the powerhead to remove any dirt or debris.
- Installing the New Belt
- Place the new belt around the agitator and align it with the belt rest.
- Attach the end of the agitator farthest from the belt first. Hold the connected end in place with one hand, and use the other hand to pull back on the agitator to stretch the belt and align it properly. Press down to ensure it's in the right spot.
- Manually spin the agitator to make sure the belt isn't pinched between the base plate's housing.
- Reassembling the Vacuum
Secure the screws back into the base plate with a screwdriver. Make sure they are tight but not overtightened.
- Final Touches
And that's it! You've successfully replaced your vacuum cleaner belt. Regular maintenance like this ensures your vacuum continues to perform efficiently and keeps your home clean.
Keeping Up with Maintenance and Accessories
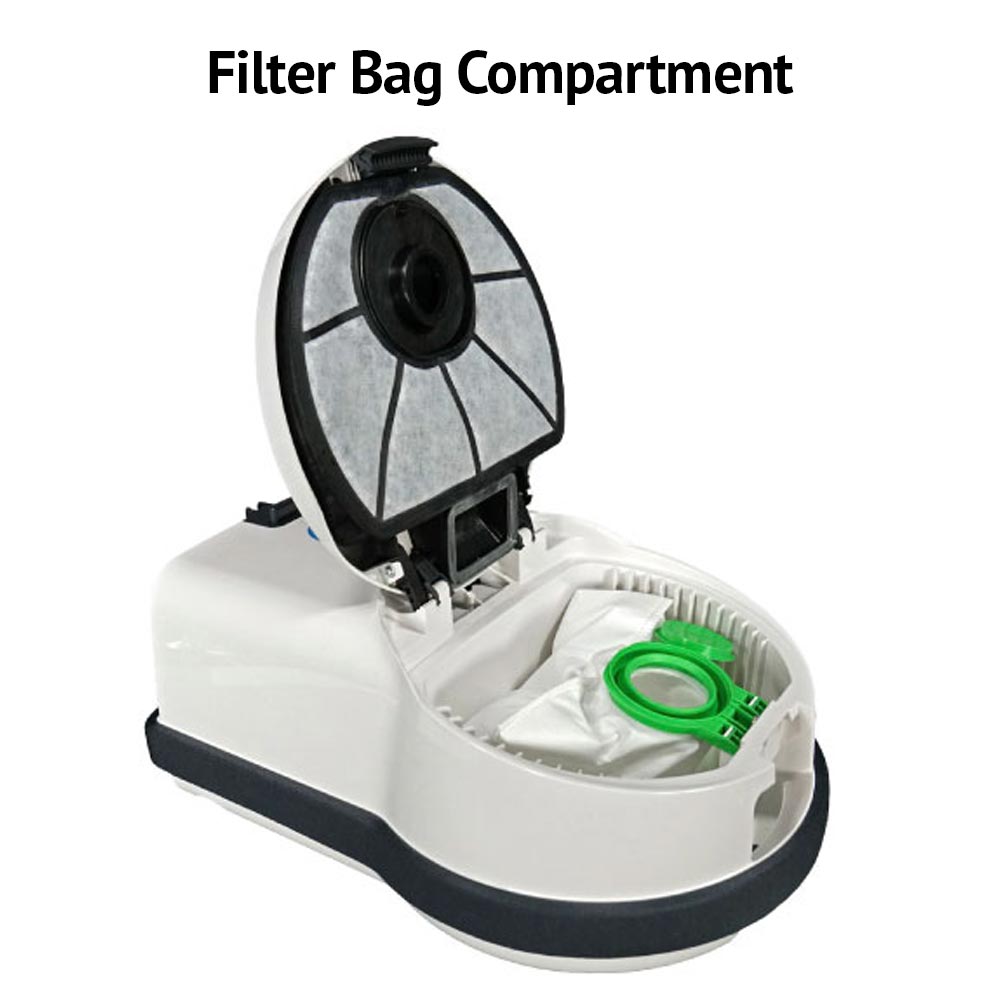
- Regular maintenance is not just about replacing the vacuum cleaner belt; it’s crucial to consider other components that contribute to your vacuum's overall efficiency and longevity. Filters, bags, and brushes require regular attention to keep your machine running smoothly.
- Change or clean your filters as recommended by the manufacturer—this can significantly improve suction and prevent dust and allergens from being recirculated back into your home. If your vacuum uses bags, make sure to replace them when they are about two-thirds full to maintain optimal performance.
- Clogged bags can impede airflow, making your vacuum less effective. Likewise, the brushes should be inspected frequently for tangles or wear. Hair and debris can easily accumulate around them, reducing their cleaning ability. By ensuring all these components are in top condition, you can avert common issues and extend the lifespan of your vacuum.
Maintaining a regular schedule for these tasks, combined with replacing belts as necessary, will help ensure that your vacuum operates at peak performance, keeping your living space clean and comfortable.
HELP GETTING STARTED
- Getting Started
- Central Vacuum 101
- Best Central Vacuum
- Compare Systems
- Bag Vs Bagless
- Hose Connections
- Best Attachment Kits
- FAQ's
- Central Vac Definitions
- Troubleshooting
- Going Green
- Video Library
Need Help? Contact Us

(800) 322-2965
Log In
Create New Account