


How to Install A Beam Central Vacuum System
Table of Contents
How to Install A Beam Central Vacuum System
Professional installation or do-it-yourself? New or existing households?
A BEAM Central Vacuum System can be installed in your new or current household in just hours — with no mess, no disturbance to your walls. There’s no outside venting needed. See your local trader for installation details.
How to install a BEAM Central Vacuum System - Seven-Step Installation
Step One:
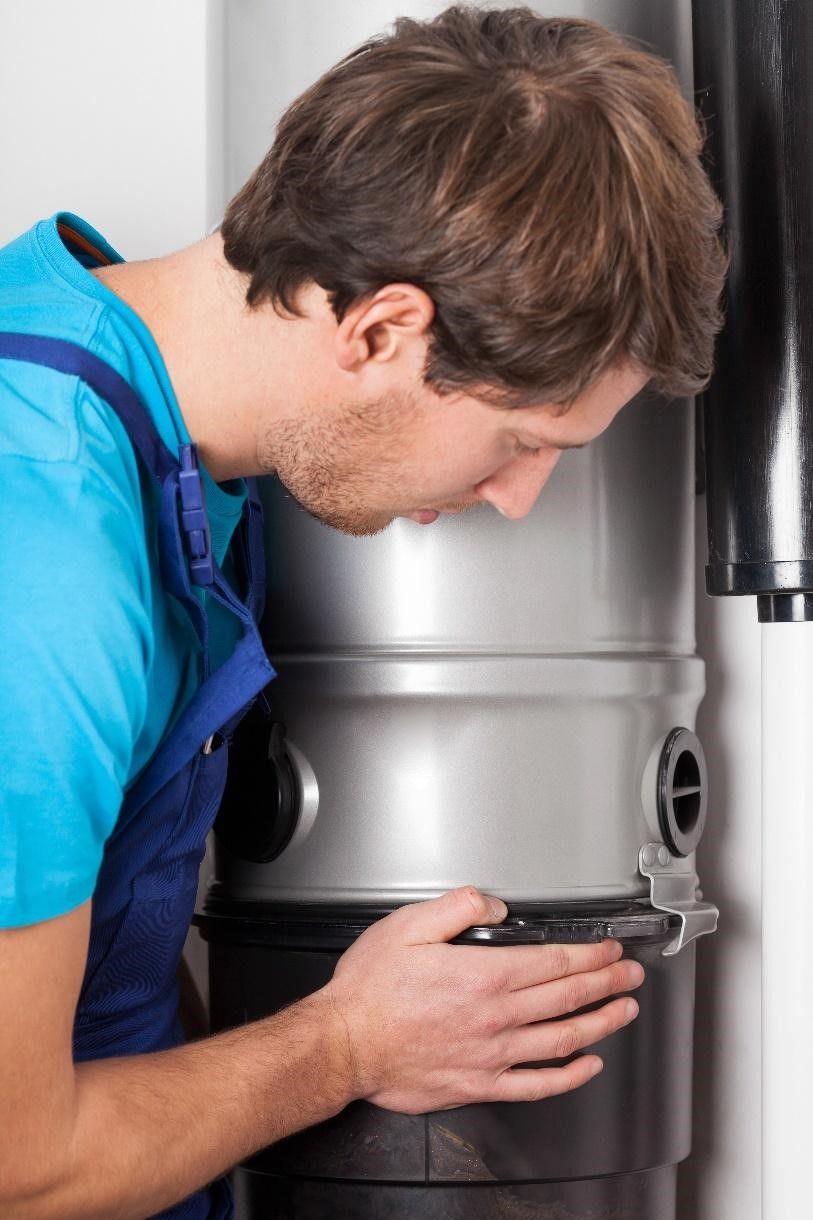
Selecting your system
Choose the BEAM Central Vacuum System, cleaning package, and accessories that best suit your household and cleaning needs. For the ultimate in ease, add a VacPan automatic dustpan in the kitchenette, mudroom, or bath.
Step Two:
Calculate the number of inlets you’ll require.
Step Three:
Where to put the inlets.
One inlet can serve a location of about 65-75 square meters. For extra power, the fewer the channels used, the better. And ensure reach from the inlet valve to all corners (and around furniture) in the rooms intend to vacuum. Do not install inlet valves in a barrier where there is a pocket door or behind a door. If you wish, inlets can be installed on the floor.
Step Four:
Planning the installation of pipes.
Plan the piping installation from the BEAM power section to the inlet valves. It’s best to run the piping under the floor if probable. In structures that do not have basements, you may run the piping through the attic or crawl spaces. In an existing two- or three-story building, vacuum piping may be run to upper levels through cold air ducts, through the back of closets or under stairways, or beside a soil pipe. In new buildings, tubes can be run through wall studs before drywall is applied. Be sure to plan where to base the BEAM power unit — typically in the garage or basement.
Helpful Insights:
- Use a plumbing cutter for cleaner cuts.
- Use 2-1/4” wood boring bit same as a Forstner bit.
- Lease a right-angle drill if you do not have one.
Tools Needed:
- Drywall saw (non-compulsory)
- Electrical tape/duct tape/cable ties
- Electric drill – 1/2” (1.3cm) with the right-angle head if likely
- Flashlight
- Forstner wood-boring bit – 2-1/4” (5.7cm)
- Hammer
- Hole saw or cutter – 2-1/4” (5.7cm)
- Masonry bit – 2-1/4” (5.7cm) (optional)
- Metal coat hangers
- Pencil
- Pipe/tubing cutter or hacksaw and miter box
- Safety goggles
- Screwdrivers (Phillips and flat blade)
- Steel tape measure
- Stud finder
- Utility/razor knife
- Wire stripper/cutter
- Wood chisel
- 30’ (9.15cm) piece of cord or string
Step Five:
Fitting the inlet valves.
To install an inlet valve in existing construction, begin by finding the center of the wall's bottom plate. Then from the basement use, the hole saw to drill a hole up into the fence cavity. (Remember to wear safety goggles throughout the installation procedure.)  There is a simple way to find the middle of a wall. Using a unit of wire cut from a coat hanger, drill a pilot hole through the carpet or hard surface floor. Drill as close to the partition as possible — pointing the drill bit at a 45-degree angle.
In the basement, see where the coat hanger has originated from. Measure over from the coat hanger to find the center of the bottom of the wall plate. Using the hole saw, drill a hole into the wall cavity.
Using the flashlight and/or broom handle, check to see that the wall cavity is free from obstacles to the inlet valve's desired height — before cutting a hole in the wall. Then, on the wall, put a mark above the pilot hole made by the coat hanger. This will be the center of the inlet valve.
Center the wall inlet bracket, trace the sketch, then cut a hole in the wall. Attach the wall bracket to an elbow of pipe.
Link the low voltage wire to the inlet valve stem. Attach a small weight to the opposite end of the wire and feed the wire throughout the hole to the basement. Put the inlet valve and bracket into the wall. Mount the inlet valve so that the valve folds down to open.
Installing inlet valves in a new structure follows the same standard procedures.
Step Six:
Pipe installation.
Measure the length of the pipe, ensuring your cuts are straight and clean. Use a sharp knife or sandpaper to remove burrs that might collect dust or hair that could form a dirt-trap. Beginning with the inlet valve farthest from the power unit, begin test fitting then gluing together sections of piping. Connect sections of tubing to the main trunk line that ties into the BEAM power unit. Bring together the low voltage wires along the trunk line. Run and link the trunk line to the BEAM power unit. If mounting the power unit in the garage, drill a pilot hole through the wall using a wire coat hanger to determine the location and for obstructions. Then cut a 2 1/2” hole through the wooden beam above the masonry wall between the basement and the garage—feed piping into a garage to part.
Step Seven:
Installing the power unit.
Mount the BEAM power unit using detailed directions included with it.
Strip the ends of the low voltage wire coming into the garage and join them to the power unit. Plug the power unit into an electrical outlet and flip the guide override switch on/off to test it. Then plug in the lightweight hose to clean up any slight mess you may have made installing the inlets.
Congratulations! You’re on your way to a cleaner, healthier household!
HELP GETTING STARTED
- Getting Started
- Central Vacuum 101
- Best Central Vacuum
- Compare Systems
- Bag Vs Bagless
- Hose Connections
- Best Attachment Kits
- FAQ's
- Central Vac Definitions
- Troubleshooting
- Going Green
- Video Library
Need Help? Contact Us

(800) 322-2965
Log In
Create New Account